"I'm so glad I live in a world where there are Octobers." ~L.M. Montgomery, Anne of Green Gables
This past October, we found ourselves surrounded by the flaming colors of fall. We took a day hike through the woods and got to see God's creativity among the greens, and reds, and yellows, and oranges. We came home and used those vibrant colors as inspiration for a fall art project.
You will need:
sheet of art paper
watercolor paints in warm colors
wide and thin paint brush
sponge brush
bowl of water
drinking straw cut to 4 inches
Directions:
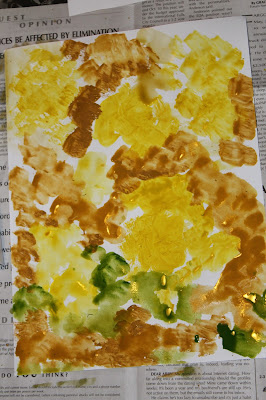
Using the wider brush, create a background on the sheet of art paper by splotching on paint in warm colors, two or three different shades work best.
With the sponge brush, dab on a simple water wash to help spread and mix the colors until they look slightly muted.
Set aside and allow to dry completely.
At this point, be sure to place your paper in the "portrait" position (vertical) before completing the next steps.
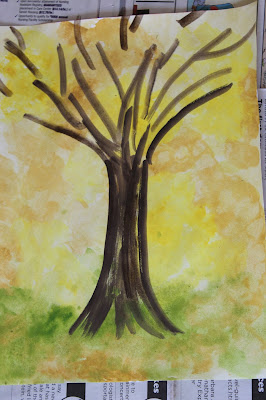
Using the thinner brush, create a tree trunk by painting vertical parallel lines up and down the bottom half of the paper. Don't completely fill in the shape of the trunk with paint. If you allow some of the background color to peer through the trunk, you will create the textured appearance of bark.
Fan out some of the parallel lines towards the bottom to give the appearance of roots.
From the top of the trunk, paint limbs that branch up and out. They don't necessarily all have to connect to the trunk. Much of the empty space will be filled in by leaves.
Next, dollop two or three droplets of leaf-hued paint onto the branches. The paint should be watery, but still vibrant enough to maintain bold color.
Place the straw to your lips, lean very close to one particular dollop of paint, and blow hard. This will scatter the paint creating "leaf clusters."
Continue this blowing process in different fall hues across the entire branch section of the tree. (Be sure to only dollop two or three drops of paint at a time and immediately blow them so that the paint does not begin to dry too quickly.)
When you've covered the crown of the tree with leaves, your painting is complete!


Love it! What a great lesson. Our leaves are almost gone already.
ReplyDeleteBlessings, Dawn
At this point, ours are too. We did this project back in October when the fall colors were very vibrant.
Delete